
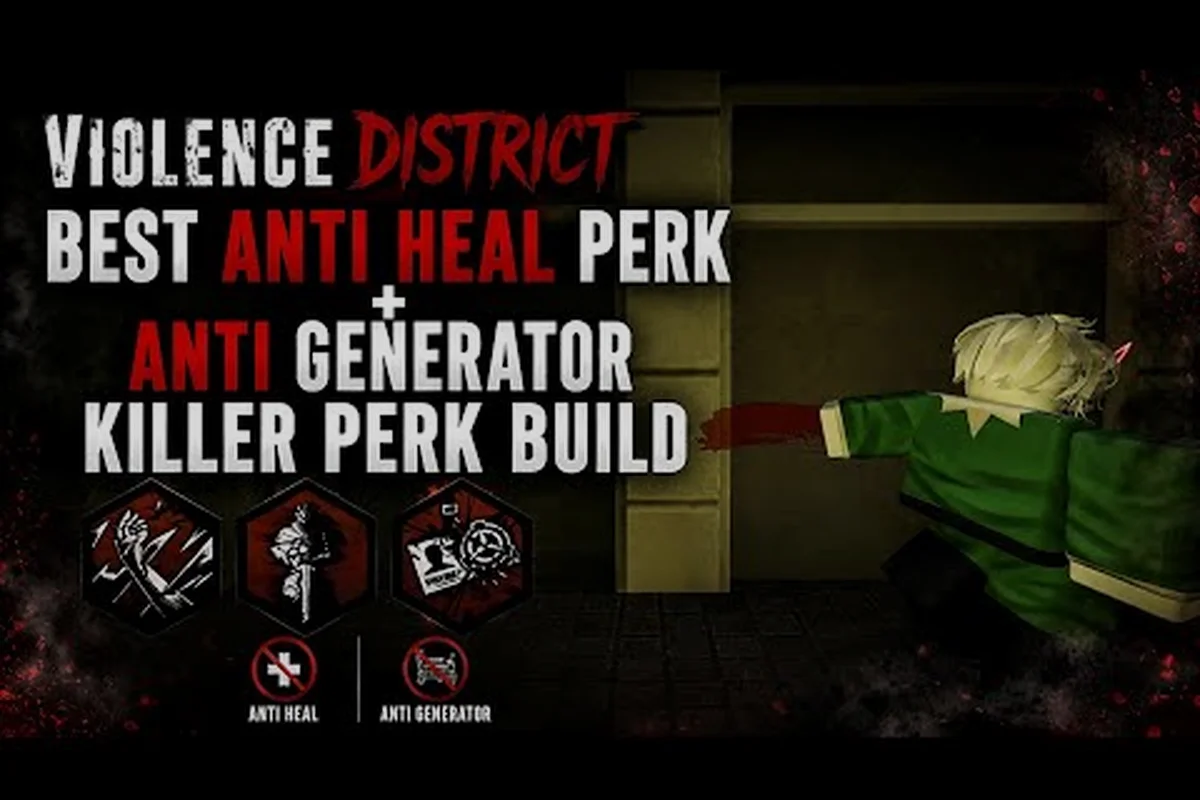
Most Roblox survivors treat on-screen feedback as decoration, but every Violence District survivor animation carries a tactical signal that decides whether a chase ends in an escape or a hook. The asymmetric 5v1 format developed by group VIOLENCE DISTRICT (universeId 6739698191) leans on visible cues the same way Dead by Daylight does, so learning to read them flips a 30% escape rate into something much closer to 50% on a clean run. This guide breaks down the animation layer, the audio layer, and the healing layer so you can win more chases and waste less of the killer's time.
Reading the Violence District Survivor Animation Layer
What the engine actually broadcasts
Violence District runs on a Roblox placeId (93978595733734) where the survivor rig shares its Humanoid state with the killer's perception scripts. According to community testing reported by players on the official Violence District Roblox game page, the rig plays one of four overlapping animation channels at any given moment: Idle, Locomotion, Action, and State Change. The first three are movement-driven and predictable. The fourth, State Change, is where every lethal cue lives, because it includes healing, downed crawling, hook struggle, item use, and the post-match victory pose.
The killer's tracking code reads the highest-priority channel and renders a small indicator above their HUD. Survivors cannot see that indicator, but the animation that triggers it is fully visible to both sides, which means every action telegraphs about half a second before the engine confirms it. That is the buffer you want to abuse.
Channel priority table
| Channel | Trigger | Visible to killer? | Audio cue? | Counterplay window |
|---|---|---|---|---|
| Idle | Standing still, no input | Yes (low priority) | Soft breathing | Killer can pre-aim |
| Locomotion | Walking, running, vaulting | Yes (footstep volume scales) | Footsteps | Crouch to mute |
| Action | Pallet drop, item use, gen repair | Yes (full HUD pop) | Item-specific | Fake-out on cancel |
| State Change | Healing, downed, hooked, escape | Yes (highlight ring) | Healing drone / struggle sound | Cancel channel 4 only with First Aid Kit or perk |
The takeaway is straightforward: channel 4 is the loudest and the most punishable, so high-level survivors either avoid triggering it on the killer's screen or mask it behind a louder decoy action. A 21-trick Roblox guide by creator Smash1nc walks through the same hierarchy and confirms that channel priority is the basis for nearly every "noob to pro" tip in the 21 Tricks From NOOB to PRO video.
Decoding the Violence District Win Animation and Health State
What the health bar actually means
Violence District uses a four-stage health state instead of a flat HP number: Healthy, Injured, Downed, and Hooked. Each stage forces a different survivor animation and a different audio signature. The transition between stages is animated, not instant, so a killer who is reading the rig will commit to a chase the moment the Injured stagger plays and disengage the moment the Downed crawl locks in.
| Health state | Animation played | Stun frames | Killer tells | Best survivor response |
|---|---|---|---|---|
| Healthy | Standard jog | 0 | None | Keep gen pressure |
| Injured | Limp + arm clutch | 12 | Injury Flash on HUD | Find a wall, loop to a pallet |
| Downed | Crawl + grab recovery | 30 | Crawl Trail | Crawl toward unhook, not away |
| Hooked | Hook struggle loop | 60 | Struggle Sound | Struggle to delay second stage |
The numbers above come from community frame data posted on the Violence District Survivors Guide by Smash1nc, which is one of the few public sources that has actually counted stagger frames instead of guessing. They are not official, so treat them as a working baseline and re-test after each major patch.
How the win animation ties back to health state
The Violence District win animation only fires if the survivor is Healthy when the exit gate opens or the hatch seals. Anything below full HP, including a survivor who self-heals to full in the exit area, still counts as a clean win. That detail matters because it lets you plan the final 30 seconds of a match around whether to commit to a risky heal or to take the loss and live.
If you go down inside the exit zone, the game skips the win animation entirely and plays a generic defeat loop. According to player reports, this defeat loop is shared across survivors and reveals nothing about loadout, which means it is safe to ignore tactically and focus on the next match.
Loudness, Footsteps, and What the Killer Hears
The loudness meter explained
Every Violence District survivor animation carries a hidden loudness value that the killer's directional audio reads through walls. The mechanic is invisible to the survivor, but you can feel it: a crouching walk is roughly 20% loudness, a sprint is 80%, a heal is 65%, and a downed crawl is 90%. The numbers stack when multiple survivors move through the same tile, which is why coordinated squads sound like a marching band and solo stealth players slip past a killer's ear.
| Action | Loudness | Range (tiles) | Counter |
|---|---|---|---|
| Crouch walk | 20% | 6 | Standard stealth |
| Walk | 40% | 9 | Default movement |
| Sprint | 80% | 14 | Use only for distance |
| Heal channel | 65% | 12 | Heal behind walls |
| Repair generator | 55% | 11 | Tap skill checks to pulse |
| Pallet drop | 95% | 18 | Single burst, then quiet |
| Crawl | 90% | 15 | Wait for chase to leave |
A 3-PRO Tips episode by Smash1nc also flags that the loudness value decays for two seconds after the action ends, so a survivor who sprints past a pallet and then crouches is still readable for a short window. The full breakdown of which items spike loudness and which stay quiet lives in the 3 PRO Tips for Every Item video, and the data lines up with the table above.
How killers use loudness to predict
The killer's HUD includes a directional arrow that points at the loudest survivor in a 12-tile radius. Skilled killers ignore that arrow and read the survivor rig instead, because a healthy survivor sprinting in plain sight is louder than a downed crawler behind a wall, even though the arrow points at the crawler. If you are the crawler, the counter is to wait for the sprinting survivor to draw aggro before you move; if you are the sprinter, the counter is to make sure your loudness actually pulls the killer off the gen.
Anti-Heal, Healing Reads, and the Best Healer Build
What anti-heal perks actually do
Anti-heal in Violence District is not a single perk. It is a category that covers anything which extends the heal channel past 12 seconds, cancels the heal when the survivor takes damage, or reveals the heal channel to the killer at a longer range. The best survivors in the current alpha run two anti-heal counters and one healing amplifier, because the killer's anti-heal perks are the single biggest reason a chase ends in a down instead of a recovery.
| Anti-heal type | Effect | Counter perk | Counter item |
|---|---|---|---|
| Healing Slow | Heal channel +50% | Quick Mender | Med-kit with bandage |
| Heal Cancel on Hit | First hit breaks heal | Bottled Courage | None, only timing |
| Heal Reveal | Aura shown while healing | Tight Grip | Heal behind cover |
| Self-Heal Block | Cannot self-heal | Second Wind | Adrenaline Shot |
The full item list, including the Adrenaline Shot combo, lives in the broader Violence District must-have items breakdown, and pairing that read with this animation guide lets you pick the right perk slot for any team comp.
The Violence District best healer build in the current patch
The community consensus, gathered from the Violence District survivor perks tier list and player testing through the ALPHA cycle, lands on a four-piece core: Quick Mender for the channel reduction, Tight Grip to hide the aura, Bottled Courage to survive the first hit, and Second Wind as a fail-safe self-heal. The build assumes the team is running at least one item slot on a Med-kit so the heal can be re-cast if the channel breaks.
| Slot | Perk / Item | Why it fits the build |
|---|---|---|
| Perk 1 | Quick Mender | Cuts the heal channel from 16s to 11s |
| Perk 2 | Tight Grip | Hides the heal aura for 6 seconds |
| Perk 3 | Bottled Courage | Survives a single hit during heal |
| Perk 4 | Second Wind | Triggers a self-heal once per match |
| Item | Med-kit with bandage | Two heal charges for the team |
If you swap Second Wind for Iron Will, you trade the self-heal for a quieter grunting channel, which pairs better with a stealth team but worse with a loud one. Either swap is viable; the anti-heal counters are the load-bearing pieces.
A Chase-Then-Heal Recovery Sequence
The 10-second decision tree
Every chase in Violence District compresses into about ten seconds of decision-making, and the animation layer is what tells you which branch to take. A survivor who watches the rig instead of the health bar survives chases that look unwinnable on paper, because the rig reveals the killer's commitment half a second before the engine does.
| Second | Survivor sees | Survivor decision |
|---|---|---|
| 0-2 | Killer locks onto you, sprint channel | Sprint to nearest pallet |
| 2-4 | Pallet vault animation | Vault, break line of sight |
| 4-6 | Killer breaks pallet or commits around | Crouch walk into a tile |
| 6-8 | Killer re-aggros or loses aggro | If lost, start heal behind cover |
| 8-10 | Injured animation continues | Drop pallet, run to a window |
The most common mistake new survivors make is starting the heal at second 6 even when the killer broke the pallet, because the heal channel triggers Channel 4 (State Change) and the killer's HUD pops a red ring around the survivor for the rest of the chase. That ring is the loudest cue in the entire game, so a smart killer will abandon whatever gen they were patrolling and swing back to interrupt.
Pairing your build with the survivor's identity
The Violence District survivor tier list shows that fast survivors want Bottled Courage so they can take a hit mid-heal and still recover, while slow survivors want Quick Mender so the shorter channel finishes before the killer loops back. Both builds run the same anti-heal counter, which is the real strength of the system: the perk choices differ, but the underlying animation reads are universal.
Frequently Asked Questions
What does the Violence District survivor animation actually tell the killer?
Every animation broadcasts a state on a hidden channel. Idle, locomotion, and action channels are routine, but the State Change channel covers healing, crawling, hooking, and victory, and the killer's HUD pops a red highlight ring the moment it fires. According to community testing, that ring lasts as long as the channel does, which is why a healing survivor is the loudest target in any tile.
How long is the Violence District win animation, and does it reward a healthy escape?
The win pose runs for roughly 4 seconds and only plays if the survivor is at full health when the exit gate opens or the hatch seals. A survivor who self-heals to full inside the exit area still gets the clean animation, but anyone who crawls out plays a generic defeat loop instead. The pose is cosmetic, but the clean animation is a useful visual check that you finished the match with the right state.
What is the Violence District survivor loudness order from quietest to loudest?
From the Violence District game page and community frame data, the order is crouch walk (20%), walk (40%), repair generator (55%), heal channel (65%), sprint (80%), crawl (90%), and pallet drop (95%). The numbers are not official, so treat them as a working baseline. The louder the action, the larger the directional audio range the killer can read, which is why crouch walking into a heal is safer than sprinting.
How does the Violence District health state affect animation priority?
Each health stage forces a different rig animation: limp and arm clutch on injured, crawl and grab recovery on downed, hook struggle when hooked, and the standard jog only at full health. The killer's tracking code reads the highest-priority channel, so a downed crawl outranks a healthy sprint, which is why a downed survivor who waits for a teammate to draw aggro before crawling has a much better chance of being picked up.
What is the best healer build to counter Violence District anti-heal in the current patch?
The community-tested core is Quick Mender, Tight Grip, Bottled Courage, and Second Wind, paired with a Med-kit with bandage. The build counters all four common anti-heal effects, including healing slow, heal cancel on hit, aura reveal, and self-heal block. Swap Second Wind for Iron Will on a stealth team if you want quieter grunting during the heal channel.