
Tier List
Ranked Violence District tier lists for killers, perks, items and maps — with the reasoning, counter notes and patch context behind every placement this season.
Introduction
Tier lists are the most requested and most misused pages on any wiki. Violence District's rankings cover killers, perks, items and maps, and every placement ships with its reasoning because a bare letter tells you nothing about whether it applies to your lobby, your side or the current Alpha build. S tier means meta-defining — picks that war lobbies around themselves — while A stays reliably strong, B turns situational, and C waits on a balance pass. The community tier-list scene (ranking-everything specials, per-role breakdowns) feeds our analysis, but we cross-check claims against match logic instead of copying influencer takes. Observation dates sit on every page: The Cure release and subsequent patches move these rankings, and we would rather show you a dated honest list than a confident stale one.
Tier Criteria Explained
| Tier | Who Lands Here | Why |
|---|---|---|
| S | Meta-defining picks | War lobbies around themselves this patch |
| A | Strong and consistent | High value with low opportunity cost |
| B | Situational threats | Shine in specific maps or matchups only |
| C | Outclassed options | Waiting on balance or a meta shift |
List Types
S Tier Profile
Meta-defining picks that warp entire lobbies around themselves in average hands
A Tier Profile
Strong, consistent entries that reliably perform without needing perfect play
B Tier Profile
Situational threats that shine brightly only in their specific scenario
C Tier Profile
Outclassed or under-tuned options currently waiting on a balance pass
Core Mechanics
Tier construction is three-dimensional: raw strength, consistency and opportunity cost. Raw strength asks whether the pick wins when everything goes right; consistency asks how often reality matches that script; opportunity cost asks what you gave up by bringing it instead of the alternative. Killer lists weight pick-rate evidence from community footage heavily because one-sided data lies less when sample sizes are informal. Perk lists weight slot economics — a good perk in a contested slot ranks lower than the same strength in a flexible one. Item and map lists weight scenario frequency: how often does the ideal situation actually occur in public matches? Cross-list comparisons also matter, because an S-tier killer implies which survivor answers fall to A-tier by necessity.
Advantages
Reasoned tier lists compress dozens of hours of community footage and match testing into a structure you can act on immediately — the difference between knowing The Cure warps the meta and understanding why your old answer stopped working. Criteria transparency lets you disagree precisely instead of vaguely, which is how tier discussion becomes useful rather than tribal. For build-focused players, perk and item rankings double as Emblem spending guides: the top of the list is also the buy order. Map tiers frame rotation expectations before queue. And dated lists create accountability — when we place a pick S and it eats a nerf, the reasoning column shows whether our logic broke or the patch moved the goalposts, which is exactly the feedback loop that makes the next list better.
Challenges
Every tier list is a snapshot arguing with a live-service game, and Alpha patches can invalidate a placement between drafting and publishing. Public-match data is noisy: pick rates reflect popularity and content-creator influence as much as strength, and high-level footage describes lobbies most players never experience. Category bias creeps in too — killer lists attract the most passionate debate and the least comparable evidence, since matchup spread matters more than absolute power. Lists also flatten skill dependence: a mechanically demanding S-tier pick played badly performs worse than a C-tier pick executed perfectly, and no letter captures that curve. Finally, readers sometimes treat tiers as identity rather than tooling — the goal is choosing what to learn next, not declaring winners.
Frequently Asked Questions
How current are these tier lists?+
Why is my favorite killer not S tier?+
Should I main an S-tier pick?+
Quick Tips
Read the reasoning column before quoting the letter out of context. Tier placement without its supporting argument is exactly how misinformation spreads in the community — understanding whether a pick ranks on consistency, matchup spread or raw ceiling tells you precisely when the list applies to your lobby and when your situation justifies deviating.
Check the observation date against your current game version first. A confident list from three patches ago is worse than having no list at all, and during Alpha those three patches can easily arrive within a single month — dated honesty beats stale authority every single time you are about to spend Emblems or queue a new main.
Use tiers for counter-picks as much as for choosing mains. The most practical payoff of any ranking is knowing what you will likely face in the average lobby and which answers are premium into it — mirror-picking the S tier matters far less than carrying the B-tier counter that shuts it down cleanly.
Featured

Violence District Strongest Killers Ranked: 2026 Meta
See the Violence District strongest killers ranked list, find the current S tier picks, and copy the perk builds that win the most 5v1 matches.

Violence District Worst Killers: Bottom Tier Picks Explained
See which killers sit at the bottom of the Violence District worst killers list, learn why they struggle in 5v1 matches, and find out which ones deserve buffs soon.
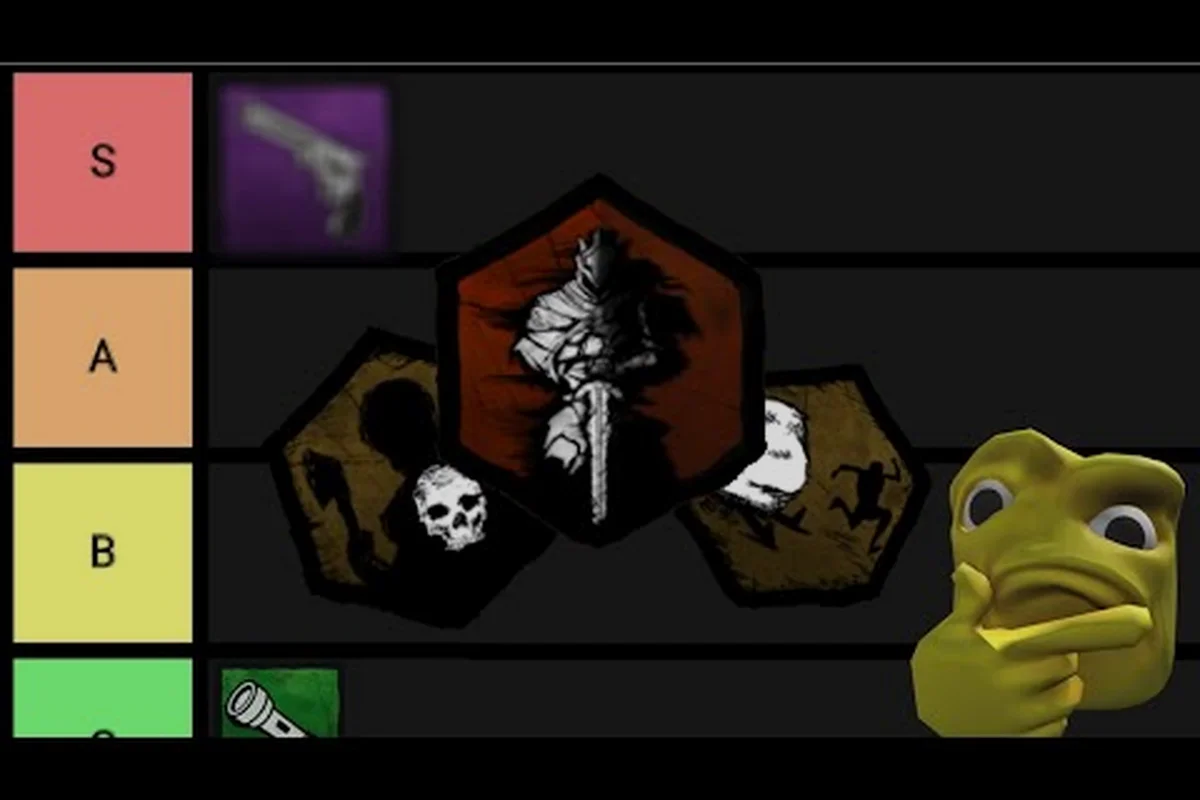
Violence District A Tier Killers and Why They Win
Find out which Violence District A tier killers dominate 2026, what makes their powers so strong, and which perk builds turn them into consistent 4k machines.
All Articles
Violence District Tier List: Best Builds, Items, and Roles 2026
See the full Violence District tier list ranking killers, survivors, perks, and items from S to D so you know which picks dominate the 5v1 meta.
Violence District Map Tier List: Every Map Ranked 5v1
Study the Violence District map tier list to see which maps favor survivors, which maps favor killers, and which loops decide every chase outcome.
Violence District Difficulty Rating: Easiest & Toughest Picks
Check the Violence District difficulty rating for every killer and survivor, learn the easiest and hardest picks, and choose a playstyle that fits your skill.