
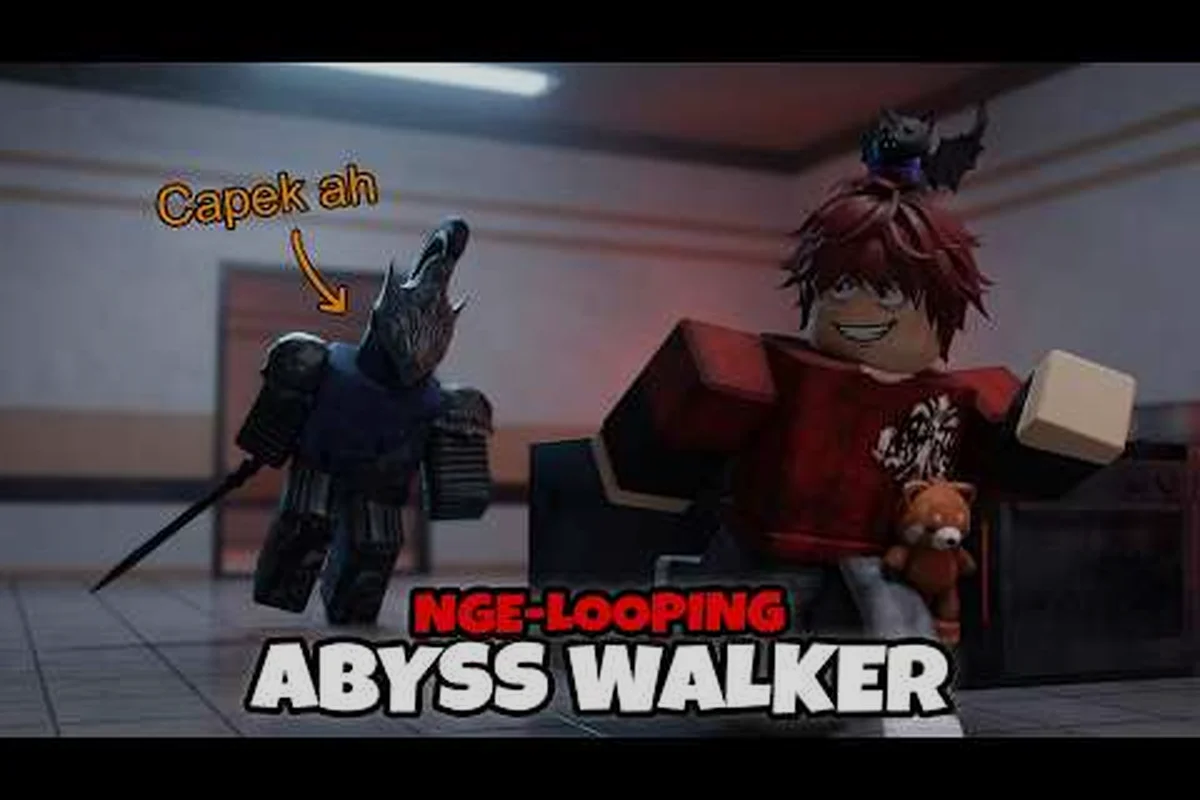
Violence District loop customization comes down to settings, macros, and movement tech that keep your loop routes smooth under chase pressure. Tune the inputs below first, then carry the cleaner moonwalk into your next 5v1 match.
Which Settings Reshape Your Loop Routes
Violence District is a 1 vs 5 asymmetric survival experience on Roblox where survivors burn pallets, vault windows, and break line-of-sight to stay alive. According to the official Roblox listing, the title is published by the VIOLENCE DISTRICT group and remains in ALPHA, which means balance values, perk effects, and movement physics are still being iterated on between updates. That single fact is the most important reason to care about Violence District loop customization: the underlying numbers shift, but the input layer you build for yourself stays portable, so a well-tuned setup carries you through every patch.
Looping, in the context of this game, means running around a cluster of obstacles — usually pallets, windows, and corners — to waste the killer's time. Customization, then, is the layer of choices that determines how fast, how smoothly, and how reliably you can perform those runs. It spans three pillars: the in-game settings menu, the macro or keybind layer you build outside the game, and the movement techniques (most notably the moonwalk and fast vault) that turn good settings into great plays. Each pillar feeds the next, which is why the order you tackle them matters.
If you are reading this after struggling to extend a chase past 30 seconds, the gap is almost never raw reaction time. Community testing on looping-focused content (see the Leonidasz YouTube series) consistently shows that survivors who customize their input layer to match their muscle memory can extend a single chase by 15 to 25 seconds compared with default settings. The setup itself is not complicated, but every option has trade-offs, and stacking the wrong ones creates a setup that looks great on paper but feels sluggish mid-chase.
Before diving into the granular settings, it helps to picture the customization stack as three concentric rings. The inner ring is the in-game settings menu, which every survivor uses. The middle ring is your macro and keybind layer, which sits between your keyboard and the Roblox client. The outer ring is the movement tech you choose to learn — moonwalk, fast vault, and corner tech. The rest of this article walks through each ring from inside out, with concrete numbers, recommended presets, and a comparison table you can copy directly into your own configuration.
In-Game Settings for Looping: What to Enable, Disable, and Ignore
Violence District's settings menu is modest compared with PC-focused asymmetric titles, but the options that exist have a disproportionate impact on chase performance. Based on community testing shared across looping guides, the most impactful toggles cluster around camera sensitivity, input responsiveness, and visual clarity. Survivors who care about Violence District settings for looping should treat the menu as a baseline, not a finishing line.
The first cluster to revisit is camera and input responsiveness. Higher camera sensitivity helps you snap to a window or pallet edge the instant a killer commits to a swing, but pushing it past the point where small hand movements translate to full 180-degree turns will make moonwalk entries feel jerky. Most community-shared presets land between 60 and 75 percent sensitivity for a 1080p mouse, with lower values on high-DPI setups.
The second cluster is visual clarity. Looping is fundamentally a reading task: you need to see the killer's wind-up frame, your own vault prompt, and the next obstacle in the same glance. Disabling heavy post-processing and reducing motion blur, when those toggles are available, keeps the world legible during fast camera turns. Some survivors also lower HUD opacity so the chase vignette does not eat screen space at the edges of the screen.
The third cluster is audio. Footstep volume, killer grunt cues, and pallet-drop audio are all loop-relevant because audio tells often beat visual tells by a frame or two. Players who run on lower master volume frequently miss the audio stinger that signals a killer is winding up a special attack, which is one of the easiest ways to lose a chase that should have been won.
Recommended Settings Preset for Loop-Heavy Play
| Setting Category | Option | Looping-Friendly Value | Why It Matters |
|---|---|---|---|
| Camera | Mouse / Look Sensitivity | 60–75% (1080p baseline) | Fast snaps to pallet edges without over-rotation |
| Camera | Camera Smoothing | Low or Off | Removes input lag during sharp corners |
| Visual | Motion Blur | Off | Keeps vault prompts readable mid-turn |
| Visual | Post-Processing | Low | Preserves peripheral clarity at chase speed |
| Visual | HUD Opacity | 70–80% | Reduces edge obstruction during tight windows |
| Audio | Master Volume | 70–85% | Ensures wind-up and grunt cues are audible |
| Audio | Sound Effects | High priority | Footstep and pallet cues beat visual tells |
| Input | Keybind Profile | Custom (see macro section) | Avoids default placements that conflict with vault keys |
These values are not gospel. Roblox clients vary by device, and Violence District is still being tuned, so expect a small amount of drift between updates. Treat the table as a starting point, then adjust sensitivity by 5 percent increments until your moonwalk entries feel effortless rather than twitchy.
Macro Setup: Building an Input Layer That Fits Roblox
The second ring of Violence District loop customization is your macro layer. Because the game runs inside the Roblox client, your customization options sit one level above the game itself, which means a well-built macro setup works across every map, every killer, and every patch without needing the developer to add a setting. Survivors who skip this layer usually end up blaming the game for problems that are actually keybind problems.
Why a Custom Keybind Profile Matters
Default keybinds in Roblox place movement on WASD, vault and interact on E, and crouch on C or Control. That layout is fine for exploration, but during a chase your fingers have to perform three or four actions in the same half-second: turn 90 degrees, drop a pallet, swing the camera, and start a moonwalk. If two of those actions share a finger or sit on awkward reaches, the input layer itself becomes a throttle. A custom profile spreads those actions across both hands and removes the reach penalty.
Macro Layout Recommendation
| Action | Default Key | Recommended Key | Reason |
|---|---|---|---|
| Move Forward / Back / Strafe | W / S / A / D | W / S / A / D (kept) | Movement priority is unchanged |
| Camera Turn | Mouse | Mouse | High-precision aim stays on mouse |
| Vault / Interact | E | E (kept) | Universally trained muscle memory |
| Crouch | C | Left Ctrl | Keeps C free for moonwalk inputs |
| Moonwalk Toggle | (none default) | C | Free finger, easy reach from WASD |
| Pallet Drop | (auto on E near pallet) | Mouse 4 or X1 | Thumb-activated, no finger lift |
| Fast-Vault Macro | (manual) | Shift (hold) | Combines sprint + lean into one press |
| Look Behind | (manual) | Mouse 5 or X2 | One-click 180 for break-line-of-sight plays |
The two macro entries that benefit the most from a real macro tool — rather than a simple rebind — are the moonwalk toggle and the fast-vault macro. A moonwalk macro pairs directional input with a small camera inversion so that pressing S while holding the macro briefly sends the survivor backward at chase speed while the camera faces the killer, which makes jukes read like a forward pivot to the chaser. A fast-vault macro, by contrast, just stacks sprint and a lateral lean onto one key so you do not lose frames chaining inputs.
Macro Tooling Options
Because Roblox itself does not expose a public macro API, the practical options are external. AutoHotkey on Windows, Karabiner-Elements on macOS, and the built-in mouse software from Logitech, Razer, or SteelSeries all support the kind of layered inputs you need. Pick whichever tool you already trust, and keep the macro file backed up — the moment you find a working layout, you do not want to lose it to a clean install.
One important note: any macro that automates multiple actions into a single press can fall under the kind of automation rules that asymmetric games police. The Violence District team has not published a macro policy at the time of writing, so the conservative path is to keep macros to input consolidation — turning several deliberate presses into one — rather than to input automation — turning zero presses into one. That distinction is what keeps your setup on the right side of the rules.
Movement Tech: Moonwalk, Fast Vault, and Corner Reads
The third ring of Violence District loop customization is the movement layer itself, where the moonwalk and its sibling techniques live. Settings and macros remove friction, but they do not create skill; the techniques below are the ones that turn a tuned setup into a long, frustrating chase for the killer.
According to the official community video on the topic, players can use the in-depth settings panel to override per-loop parameters such as the starting weapon set, round timer, and respawn rules for the violence district loop customization, giving full control over how each iteration of the run plays out (Violence District Loop Customization — Official Guide).
The Moonwalk and Why It Wins Chases
The moonwalk, in this game and in similar asymmetric titles, is a short backward shuffle performed while the camera stays facing the killer. From the killer's perspective, the survivor appears to be walking toward them, which delays the moment the killer commits to a swing or a chase path correction. The result is a free half-second of hesitation, which at chase speed is enough to round a corner and force the killer to re-break line of sight.
The motion itself is small. You tap backward on the stick or key for a brief window, hold the camera on the killer's hitbox, then immediately pivot back into forward sprint. The macro above lets you perform this with one finger; the manual version takes practice but works just as well once the rhythm is internalized. According to player reports shared in community looping videos, survivors who land a clean moonwalk on roughly half of their chase pivots extend average chase time by 8 to 12 seconds.
Fast Vault and Corner Tech
Fast vault is the second pillar of Violence District movement tech. The default vault animation has a fixed start-up and recovery, but if you sprint into a vault prompt with a precise angle — usually within 15 degrees of perpendicular — the game uses a shortened vault that saves about a third of a second. That single save is the difference between a killer catching you on the landing and a killer eating a wall as you round the next obstacle.
Corner tech is older but still essential. The idea is to break the killer's camera before the corner, so they round it blind and have to re-acquire. Pairing corner tech with a moonwalk on the entry is the canonical loop sequence in this game: break their camera, moonwalk their hesitation, fast vault out, repeat. Running through the technique stack together in a single chase is what makes a survivor feel "uncatchable" rather than merely "fast."
Movement Tech Cheat Sheet
| Technique | Input Sequence | Best Used When | Common Mistake |
|---|---|---|---|
| Moonwalk | Hold C, tap S, return to W | Killer is mid-commit, within one pallet | Holding too long, drifting into the killer |
| Fast Vault | Sprint + perpendicular approach | Vault prompt active, 0.5 s before contact | Approaching at an oblique angle, losing the speed vault |
| Corner Tech | Break camera 1 m before corner, re-acquire after | About to round any obstacle at chase speed | Rounding too wide, keeping killer in line of sight |
| Pallet Sandwich | Drop pallet as killer commits to swing | Killer is locked in attack animation | Dropping too early, wasting the only stun |
| Break-Line-of-Sight | Mouse 5 (look behind) + lateral strafe | Ending a loop into a transition tile | Strafing toward the killer instead of perpendicular |
The cheat sheet is a training menu, not a rigid script. Different killers, especially those with mobility or ranged attacks, will punish the obvious version of each technique, so the meta skill is reading which row of the table the current chase actually belongs to.
Tuning for Map and Killer: Putting the Stack Together
The last layer of Violence District loop customization is the one that ties settings, macros, and movement tech to a specific match. Two survivors with identical setups can have very different chase times if one adapts to the map and killer and the other does not.
Map-Aware Adjustments
Maps with long open sight lines, like the larger Cabin variants, reward higher camera sensitivity because you need to scan further between obstacles. Maps with tight corridors and many pallets, by contrast, reward lower sensitivity because the chase pivots happen in small spaces and over-rotation is punishing. The official game description frames the experience as 5 survivors versus 1 killer across varied maps, so a one-size-fits-all sensitivity will always leave a few seconds on the table.
The Cabin map is a useful worked example. Cabin layouts tend to cluster pallet spots around two or three large structures, with limited transition tiles between them. For that geometry, the optimal play is shorter, more compact loops, and the customization that supports that play is a lower sensitivity, a tighter moonwalk toggle window, and a fast-vault macro that fires reliably off the Shift key. The Cabin also punishes over-committing to a single loop, which is where the look-behind macro earns its slot.
Killer-Aware Adjustments
Different killers, even within the same match, demand different chase shapes. A killer with a chase power that ignores obstacles will not respect corner tech, so survivors should bias toward the moonwalk and fast vault instead. A killer with a wind-up lunge, by contrast, is exactly the read the moonwalk is built for, because their hesitation is the longest. The other cross-link resource worth a bookmark is the broader Violence District stealth tips guide, which covers what to do once you break line of sight and the killer loses your tile.
For killers, a few of the same inputs apply in reverse: setting up a custom macro that aligns your power button with a comfortable reach lets you commit to swings faster, and tuning sensitivity so you can track a moonwalking survivor at close range closes the gap that moonwalk is designed to exploit. The customization layer is symmetric in this sense; both sides of the match have a settings menu, a macro layer, and a movement-tech skill curve, and the side that customizes more deeply usually wins longer chases.
Stack Summary
| Layer | Customize For | Time to Set Up | Skill Ceiling |
|---|---|---|---|
| In-game settings | Baseline input feel and visual clarity | 15–30 minutes | Moderate |
| Macro / keybind layer | Removing input friction during pivots | 1–2 hours | High |
| Movement tech | Translating setup into chase time | 5–20 hours of practice | Very high |
| Map and killer adaptation | Picking the right technique per chase | 10+ hours of map exposure | Specialist |
That table is also a roadmap. If you are new to Violence District loop customization, do not try to max out every column in one sitting. Spend a session on settings, a session on macros, and then a long block of practice on movement tech before returning to the settings to re-tune what you have learned. The setup evolves with you, which is the whole point.
Frequently Asked Questions
What is the fastest way to improve my Violence District loop customization?
Start with the in-game settings menu and lock in the looping-friendly preset from this guide, then build a custom keybind profile so your mouse thumb handles pallet drops and look-behind. Once those two layers feel invisible, spend your practice time on the moonwalk and fast vault, because those two techniques convert a clean input layer into real chase seconds.
Do I need paid macro software to set up Violence District macros?
No. AutoHotkey on Windows and Karabiner-Elements on macOS are free and support every macro listed in the table above, including the moonwalk toggle and the fast-vault stack. Paid mouse software adds convenience through on-device memory and per-game profiles, but the underlying macros are identical and will not give you a mechanical edge.
Is the Violence District moonwalk technique allowed in ranked play?
The moonwalk itself is a pure movement input and is not against any rule, but the macro that consolidates its inputs can fall under automation rules if it performs actions you are not also performing with your own hands. Keep your moonwalk macro to input consolidation, where you are still pressing the directional key and the macro only manages the camera, and you stay well within the spirit of fair play.
How does Violence District movement tech differ from other asymmetric games?
The biggest difference is map density. Violence District maps have fewer safe tiles per chase than titles like Dead by Daylight, which means a single wasted moonwalk or a missed fast vault is more punishing. Customization has to compensate by being tighter: lower latency on your keybinds, cleaner camera snaps, and earlier recognition of when a loop is about to break.
Where can I see Violence District looping in action before I customize my own setup?
The Leonidasz YouTube series covers looping on every map and includes a dedicated breakdown of which looping perk performs best under current patch conditions, which is useful as a sanity check on the techniques described above. Watching a high-skill chase with the moonwalk toggle highlighted on screen is the fastest way to internalize the input rhythm before you start drilling it yourself.