
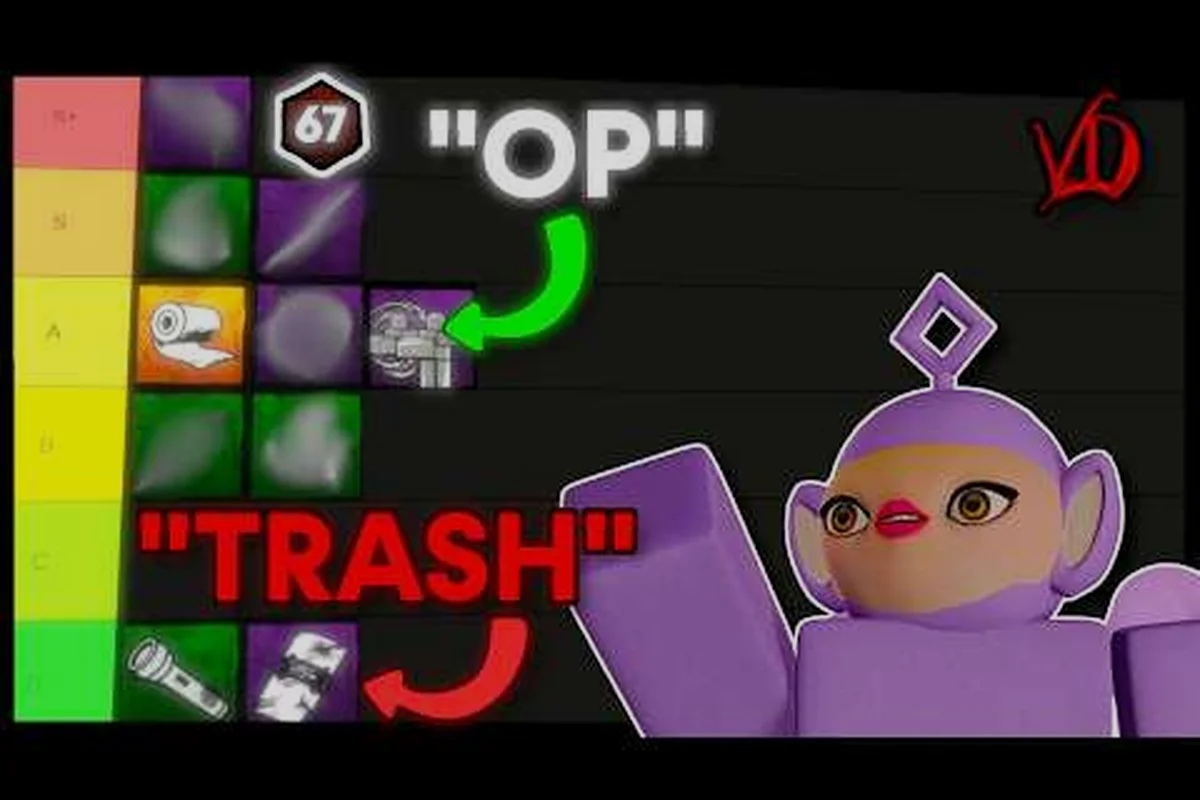
The Violence District item list covers every survivor tool currently in the Roblox alpha, and picking the right one changes whether your team escapes or feeds the killer another kill. With eight core items cycling through every match and a meta that still shifts between patches, knowing what each tool does — and which build it slots into — separates a clean escape from a frustrating reset. This guide ranks every Violence District item by tier, breaks down the practical builds players are actually running, and flags the tools worth chasing first.
Violence District Item Tier List Overview
Before drilling into individual toolkits, it helps to see the full Violence District item list at a glance. The game currently ships with eight survivor-facing items, and they fall into three broad roles: direct survival (heals and revives), utility (tracking and stalling), and objective manipulation (objective speed, gate control). Community testing on the alpha build places them into a fairly stable tier order, though the developer at VIOLENCE DISTRICT on Roblox is still tuning numbers patch by patch.
| Item | Role | Tier | Best Match |
|---|---|---|---|
| Bandage | Heal | S | Solo queue, all builds |
| Flashlight | Stun | A | Aggressive jukers |
| Motion Tracker | Info | A | Group play, info builds |
| Gate Key | Objective | B | Endgame squads |
| Box | Objective | B | Solo or duo |
| Soda | Speed | B | Rotation builds |
| Twist of Fate | Reset | C | Meme / niche |
| Broken Bottle | Stun | D | Last-resort panic |
The table above is the snapshot most community tier lists converge on, with a few swaps depending on playstyle. Items that look weak in isolation often climb a tier when stacked with the right perk, so the rankings below also note which item combinations unlock hidden value.
How Tiers Are Assigned
Tier rankings in the Violence District item list reflect three factors that community data and player testing keep reinforcing: raw survival impact, consistency across maps, and how many perks or other items the tool synergizes with. S-tier tools are the ones you'd happily take into any match regardless of killer, role, or team comp. A-tier items slot into a clear archetype and reward players who commit to that build. B-tier tools are situational but never useless. C-tier and D-tier items are niche picks that show up in specific ladder strategies or panic moments.
Community note: tier rankings below reflect the alpha build as of the 2026-09-22 data snapshot. The developer has publicly mentioned ongoing balance passes, so expect a few items to shift once the next patch lands.
Healing and Sustain Items in the Violence District Item List
Healing is the most contested category because every team needs at least one source of sustain, and the Violence District item list currently leans on a single dominant tool: the Bandage. Two other healing-adjacent items round out the section, but they serve very different purposes.
Bandage — The Backbone of Every Bandage Build
The Bandage is the closest thing the Violence District item list has to a must-pick. It heals a chunk of HP, comes in stacks so the whole squad can share, and requires no setup beyond finding a quiet corner. Community data shows a Bandage-only squad has a noticeably higher escape rate than a squad that splits its item slots across utility, which is why it anchors essentially every bandage build running in the alpha.
What makes the Bandage tier-S instead of just tier-A is its interaction with the rest of the Violence District item list. Pair it with Motion Tracker and the squad can pre-emptively heal before a chase arrives. Pair it with Soda and you can disengage, heal mid-rotation, and re-engage without losing map control. Even the seemingly weak items gain value when a Bandage is in the kit, because the team can afford the downtime those niche tools demand.
| Stat | Value |
|---|---|
| Heal amount | 1 bar per use |
| Stack size | 3 charges |
| Best perk synergy | Self-care–style perks |
| Map synergy | Strong on every map |
For a deep dive into stacking the Bandage with the right perks, the survivor perks tier list covers which perks multiply the heal value and which are dead weight on a Bandage-first build.
Soda — The Underrated Rotation Tool
Soda is technically a speed item, not a heal, but it functions like a heal in practice because it lets survivors break a chase and reach a safe corner before the killer re-engages. A well-timed Soda can buy the same breathing room a Bandage provides, which is why some players carry one of each rather than triple-stacking bandages.
Soda's main weakness is its short duration. A few seconds of speed isn't enough to outrun a committed killer, so it works best as a disengage tool rather than a chase winner. Players running a survivor speed build often stack Soda with perks that extend the buff, which pushes Soda from a B-tier pick into a comfortable A-tier.
Information and Objective Items in the Violence District Item List
The second pillar of the Violence District item list is information and objective control. These items don't heal or stun — they change the information war, and information wins matches in a 1v5 asymmetric game.
Motion Tracker — The Squad's Sixth Sense
The Motion Tracker is the only info item in the current Violence District item list, and it's strong enough to define an entire playstyle. It pings nearby movement through walls, which lets survivors track the killer during chases, predict rotations, and avoid face-checking dead-end corridors. A coordinated team with a Motion Tracker can basically see what the killer sees, and that advantage compounds over the course of a match.
What separates a good Motion Tracker user from a great one is callout discipline. Pinging the killer is only useful if your team listens and reacts, so the item rewards squads that have even a basic callout system. Solo players get less out of it, but the information still helps with self-preservation even when nobody else is paying attention.
| Scenario | Value of Motion Tracker |
|---|---|
| 5-stack squad with voice | S-tier |
| 3-stack with friends | A-tier |
| Solo queue | B-tier |
| Pair with Bandage | A-tier overall |
| Pair with Flashlight | A-tier overall |
Pairing the Motion Tracker with a Bandage is the current community-recommended information build, because the team can stack heals at the right time instead of wasting them in panic. The combination is the most forgiving setup for players climbing out of low ranks, which is why it shows up in nearly every beginner guide linked from the Violence District tier list.
Box and Gate Key — Objective Manipulation
The Box and Gate Key are the objective-acceleration items in the Violence District item list. The Box speeds up repair progress on a generator, while the Gate Key lets survivors open the exit gate faster once the endgame phase triggers. Both items are B-tier in isolation but climb to A-tier when the team commits to a coordinated objective strategy.
The catch is that objective items only pay off if the team survives long enough to use them. A Box is wasted if the carrier dies in the first 30 seconds, and a Gate Key is irrelevant if the killer snowballs before the gates are powered. That's why most squads run exactly one objective item alongside healing and information, rather than stacking two or three.
Stun and Control Items in the Violence District Item List
Stun items don't heal or speed, but they're the difference between a clean escape and a death on the killer's hook. The Violence District item list currently offers two direct stuns and one indirect control tool, each with very different risk profiles.
Flashlight — The Aggressive Stun
The Flashlight is the cleanest stun in the Violence District item list. Point it at the killer during a pickup animation and the survivor is dropped, which is a full heal of action economy for the squad. A single successful Flashlight save can swing a match, and a stack of Flashlights turns a coordinated squad into something close to unkillable during the rescue window.
The downside is aim requirement. Flashlights need a charge-up window to land a stun, and many killers can bait or cancel the animation if they know the survivor is close. Players who can't land the stun reliably get almost no value, which is why Flashlight sits at A-tier rather than S-tier in most community rankings. The community tier list at Ranking EVERYTHING in Violence District | Tier List (PRO) ranks it the top stun for aggressive players but warns solo players off unless they're confident with the timing.
Twist of Fate and Broken Bottle — Niche and Panic Picks
The Twist of Fate and Broken Bottle round out the Violence District item list, and they're the items most beginners skip. The Twist of Fate rerolls a random factor in the match — survivor spawn, item drop, or killer behavior depending on the alpha build — and the Broken Bottle is a melee-range stun that costs the survivor a chunk of HP.
Neither item is strong in raw numbers. The Twist of Fate can occasionally flip a lost match, but most of the time the reroll outcome is neutral. The Broken Bottle is genuinely useful in clutch moments when no other stun is available, but spending half your HP to avoid one hit is a bad trade unless the alternative is death. Both items are best treated as "I already have my main kit, I might as well grab something fun" picks rather than core loadout slots.
Best Item Builds and Loadouts in the Violence District Item List
Knowing the items is only half the battle; knowing which combinations actually win matches is the other half. Below are the three loadouts the community has converged on, each built around a different item from the Violence District item list.
The Bandage-Heavy Sustain Build
A bandage build prioritizes healing capacity above everything else. The standard version is three Bandages, one Motion Tracker, and one supporting item of choice (Soda for rotation, Flashlight for rescue, or Box for objective). The build wins by out-sustaining the killer: the team can take hits, scatter, heal, and re-converge faster than the killer can re-engage.
| Slot | Item | Reason |
|---|---|---|
| 1 | Bandage | Core heal |
| 2 | Bandage | Core heal |
| 3 | Bandage | Stack for late game |
| 4 | Motion Tracker | Information for heal timing |
| 5 | Flex | Match-dependent |
This build's weakness is objective pressure. A pure bandage-heal squad will lose if the killer plays aggressively on objectives, which is why the flex slot exists. Adding a Box or a Gate Key to the flex slot converts the build from pure sustain into a balanced all-rounder without sacrificing too much healing.
The Information and Stun Build
The information build swaps one of the Bandages for a second utility item, usually a Flashlight. The goal is to control the killer's information space: the Motion Tracker tracks rotations, the Flashlight shuts down chase-ending picks, and the remaining Bandages keep the team alive through the inevitable trades. This is the build most recommended for aggressive 3-stacks that want to dictate the pace of the match.
The flex slot here is usually a Soda rather than an objective item. The build already has enough healing to survive mid-game, and what it needs is the rotation speed to keep aggression rolling into late game. A well-timed Soda break can convert a save into a full-team escape, which is the entire point of the build.
The Objective Rush Build
The third loadout is a niche pick that works best on coordinated 5-stacks. It runs one Bandage, one Motion Tracker, one Flashlight, one Box, and one Gate Key. The build is fragile early because healing is limited, but the objective acceleration means the team can power the gates far faster than the killer expects. If the team survives the first two minutes, the match is essentially over.
This build rewards players who already know the maps and the killer behaviors. A new player running this loadout will likely feed the killer early kills, which is why it's listed as a "coordinated squad" build rather than a solo queue recommendation. For solo queue, the Violence District best item loadout guide covers more forgiving alternatives.
Frequently Asked Questions
What is the best item in the Violence District item list for solo queue?
The Bandage is the strongest solo-queue pick because it requires no coordination, scales with team size, and works against any killer. A solo player carrying two Bandages and a Motion Tracker has enough sustain and information to survive long enough for the team to mount a coordinated push, even when teammates are random. It also slots into every recommended loadout, so swapping between matches is painless.
Is the Motion Tracker worth picking over a Flashlight?
It depends on your team comp. The Motion Tracker is the better pick for solo queue and 3-stacks because the information is useful even when nobody is talking, while the Flashlight is stronger for coordinated squads with voice chat who can chain saves. Both are A-tier, so a lot of players end up carrying one of each and trading the flex slot based on the match. If you're climbing out of low ranks, Motion Tracker is the more forgiving pick because it has value even if your aim is poor.
How does the Gate Key item work in Violence District?
The Gate Key is an endgame objective item. Once the killer triggers the endgame phase and the exit gates are powered, a survivor carrying a Gate Key can open the gate faster than the default interaction speed. The acceleration is meaningful enough to matter in close matches, but the item is useless if the carrier dies before endgame or if the team never powers the gates in the first place, which is why most players run exactly one rather than stacking.
Can you run a full Bandage build in Violence District?
Yes, a full bandage build is one of the most stable loadouts in the current alpha, especially for solo queue and 3-stacks. The recommended version is three Bandages plus one Motion Tracker and one flex slot, which gives the team enough healing to outlast the killer while still having one slot for utility. The build's main weakness is objective pressure, so consider swapping the flex slot to a Box or Gate Key if your team is already coordinated on rotations.
What items should new Violence District players avoid?
Skip the Twist of Fate and the Broken Bottle until you've learned the core item roster. Both are niche picks with high skill floors, and a new player carrying either is usually better served by an extra Bandage, Soda, or a Flashlight they can actually land. Once you've got the meta items down, the Twist of Fate is a fun flex pick for chaotic matches, and the Broken Bottle is a clutch panic tool when nothing else is available.